
Search


Splat Game
Overview of how to play Splat learning game with flash cards for different subject areas.


Boom Game
Overview of how to play Boom flash card game for different subject areas.


Teacher Mom
This section of my blog will be devoted to all of the hands-on, play-based learning activities I do with my children. As a former...


Parenting Life
This section of my blog will be devoted to everything I have learned as a parent from tips and tricks to mistakes and fails. Below is an...


Good Eats
This section of my blog is a collection of easy recipes. I'm not a fancy chef, but I love to eat, so I am always on the lookout for...


Out and About
This section of my blog will be devoted to places we have traveled to near and afar. From favorite local haunts to treasured trips...


Treat Yo Self
This section of my blog will be devoted to recommendations for things you can do for those mental health days. Below is a quick...
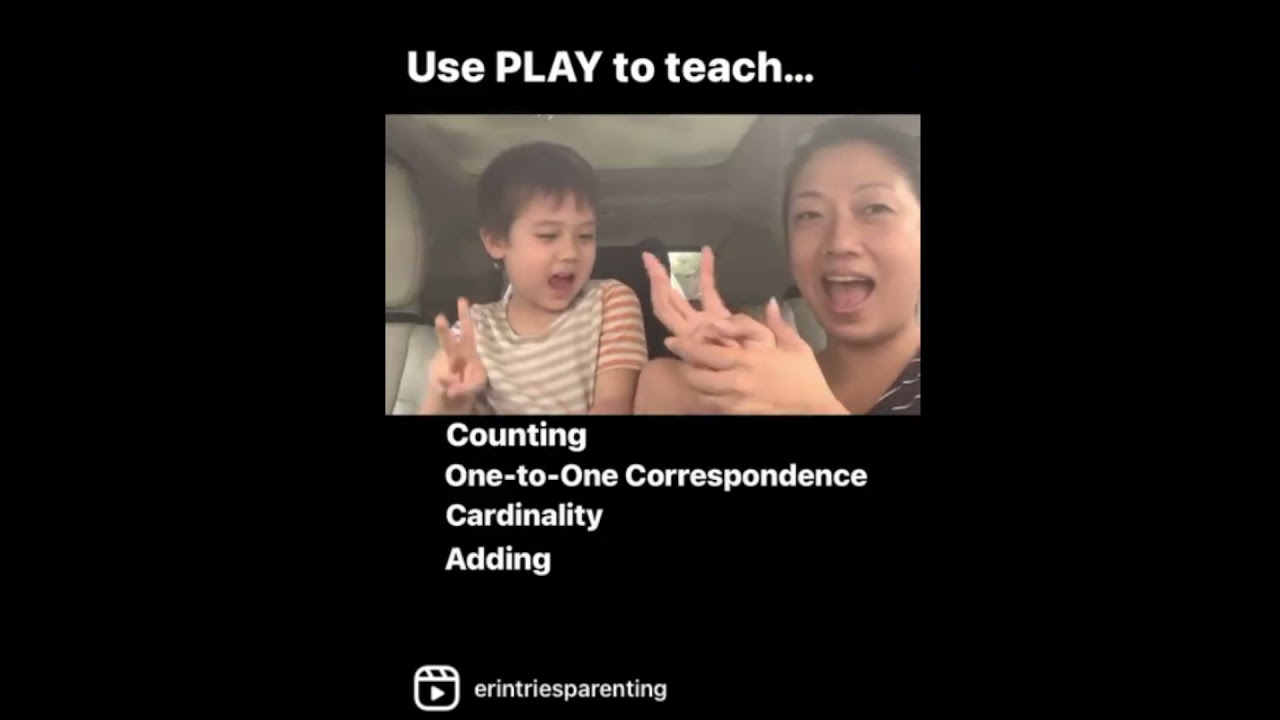
Fast, Fun ANYWHERE Math Game (no materials needed!)
If you ever find yourself with some time to kill and a child to entertain, I recommend you give this one a try. It is very easily...
